Great kitchen design is all about the details. There will be hundreds of details to consider during your kitchen remodel, including where to start and stop your backsplash. While there is no absolute right answer, there are some standard design conventions that can help you solve your backsplash dilemma.
Use these design tips to determine where to start and stop your backsplash in your newly renovated kitchen.
Where Should Your Kitchen Backsplash Start and Stop?
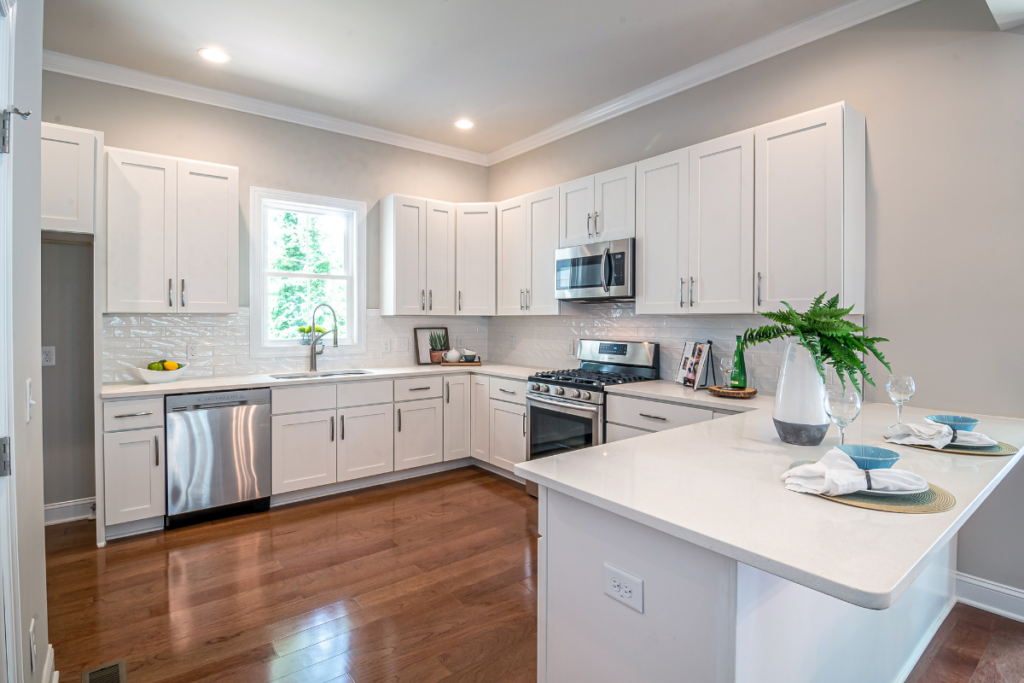
In most kitchens, a backsplash starts at the top edge of the countertops and extends up until the bottom of the cabinets. You could also consider extending the backsplash up to the ceiling to elongate the view and make your kitchen feel larger. For scenarios that are less cut and dry, use the design tips below to determine where you should start and stop your backsplash.
Where Should You Put Backsplash Tile in Your Kitchen?
At a minimum, you should put backsplash tile on any walls in your kitchen that could be splashed with water, grease, or any liquids that could damage the drywall. You should put backsplash tile behind your sink and stove, but you can extend it elsewhere in your kitchen for a seamless look. Most homeowners use backsplash tile on every wall that has cabinets.
5 Design Tips for Where to Start and Stop Your Backsplash
Kitchens with non-standard configurations or unique layouts need a little more direction on where to place the backsplash tile. These design tips will help guide you on where to start and stop your backsplash.
1. Determine a Natural Stopping Point
Step back and view your entire kitchen. Think about where natural stopping points exist, like the edge of walls, the top of doorways, the edge of windows or trim, and the bottom of floating shelves or cabinets. End your backsplash tile so it perfectly aligns with these natural stopping points.
2. Tile Every Wall With Cabinets
Tiling every wall with cabinets is a rule that can be applied to most kitchens. You certainly can install backsplash tile on walls without cabinets, but it isn’t necessary and would be purely a design feature. This design rule usually refers to upper cabinets—if you have a spot in your kitchen that only has lower cabinets, backsplash tile isn’t typically installed.
3. Align Backsplash Edge With Cabinet Edge
Aligning the edge of your backsplash tile with the edge of your upper cabinet makes a clean line that looks intentional. When it comes to where to start and stop your backsplash tile, it really doesn’t get much more straightforward than this.
4. When in Doubt, Opt for Clean Lines
In cases where your kitchen doesn’t have natural stopping points or cabinet alignment, opt for clean lines. Try to avoid “floating” backsplash tile that isn’t anchored on at least two sides. If you need to install additional backsplash tile to reach a wall or an appliance, it makes sense to do so.
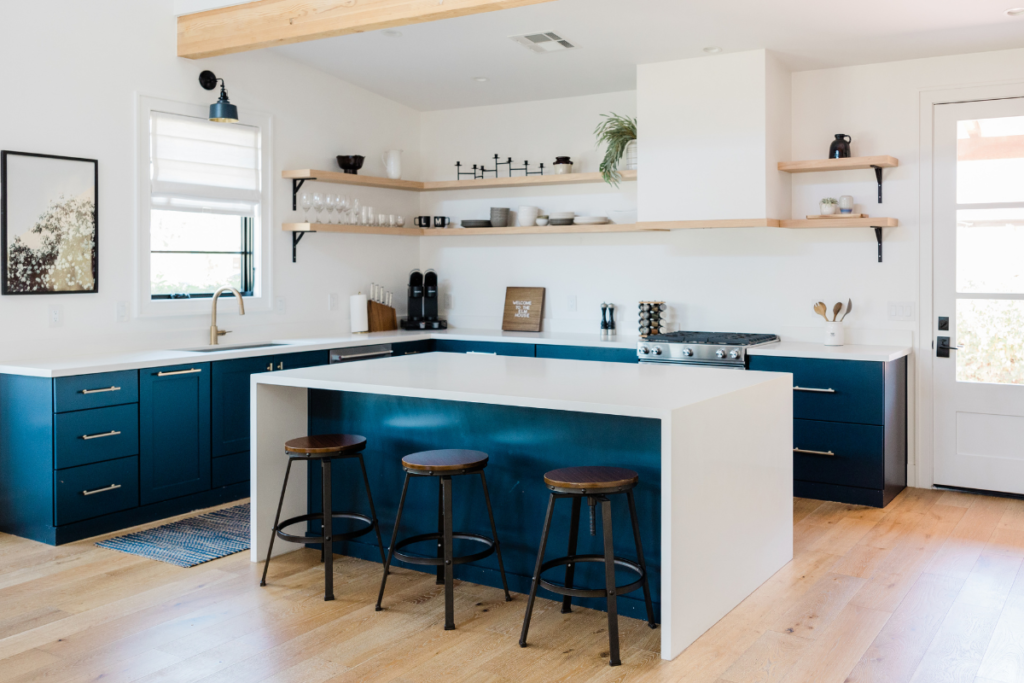
5. Consider Adding Floating Shelves
In certain situations when your cabinet edge does not align with your countertop edge, you can end up with an odd 90-degree angle with your backsplash tile. Consider installing open floating shelves to help extend your cabinets to the end of your countertop. These shelves can either be straight across or rounded and are great for displaying decor or storing pantry items. In most cases, two or three shelves will do the trick.
Backsplash Tile Around Specific Kitchen Features
Outside of the cabinets, countertops, and appliances that create a kitchen, there are other elements that can present a challenge to tile around. Here is our advice on where to start and stop your backsplash tile around unique kitchen features.
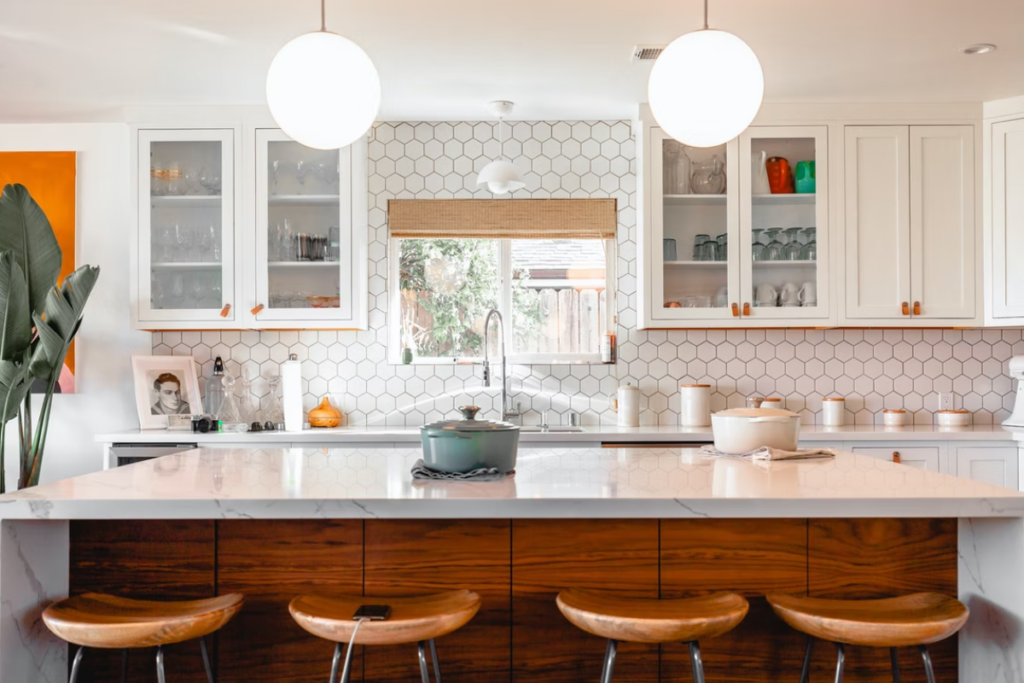
Peninsulas
Where do you end your backsplash with a peninsula? You can either install backsplash tile to the end of the peninsula’s countertop or to the edge of the furthest upper cabinet. You don’t have to worry about this backsplash tile constraint if you have a kitchen island versus a peninsula.
- The preference would be to tile to the edge of the furthest upper cabinet, that way the backsplash is anchored on three sides.
- If you prefer to extend your backsplash tile to the edge of the peninsula’s countertop, consider installing floating shelves above the backsplash to add a natural stopping point at the top.
Windows
Where do you end your backsplash around a window? You should always tile right up next to the trim that goes around your window. As far as how high you should install your tile, keep the height consistent throughout your kitchen.
- If your tile stops beneath your upper cabinets, keep this height around your windows.
- If your tile extends to the ceiling, do so around your window as well.
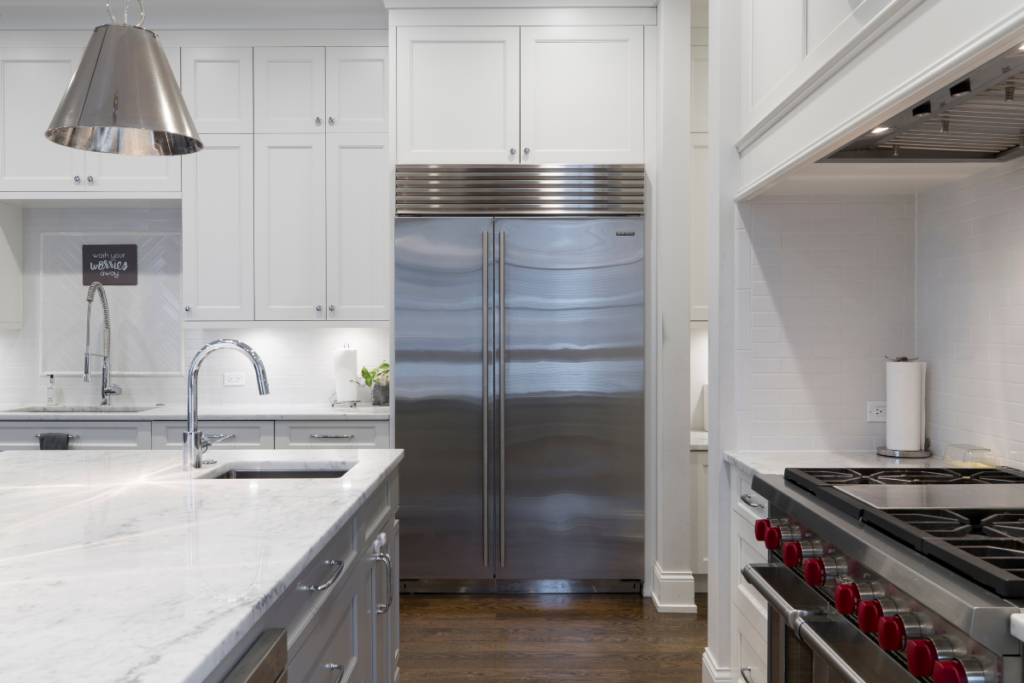
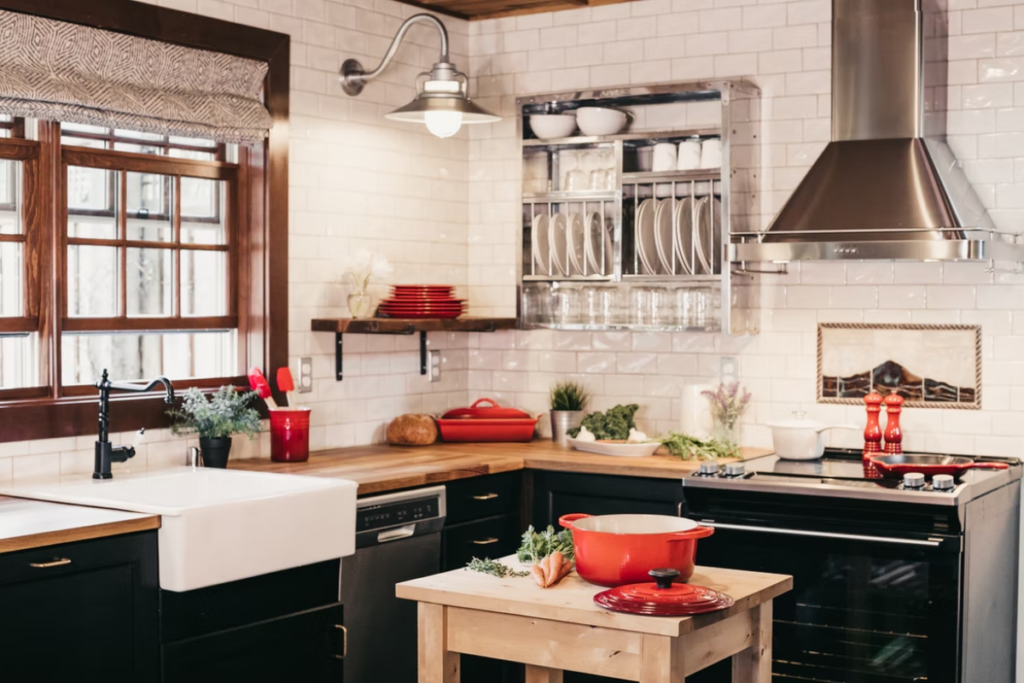
Range Hood
Near your kitchen range hood, you have three options for where to start and stop your backsplash tiles:
- Stop the backsplash tile at the ceiling if you are using this height throughout your kitchen.
- Stop the backsplash tile at the same height as the bottom of your upper cabinets if you are using this height throughout your kitchen.
- If you are not using either of the height constraints above, stop the backsplash tile at the bottom edge of your range hood to create a clean line with the edge.